Full disclaimer: No-one that worked on this wall is a qualified stonemason, and I would strongly suggest liaising with a professional if you are in any way unsure of what steps to take with your home. That being said, like many of us are at the moment, we are renovating on a budget and determined to do whatever we can do ourselves. The cost of labor can be eyewatering so we took the decision to carry out the repointing ourselves, resulting in costs only arising from the scaffold tower hire and materials.
So, what is repointing? When laying a brick or stone wall, the masonry units are bound together by mortar packed into their joints. Over time, this mortar falls away, leaving large cracks which can lead to water ingress – a big no no. Our walls needed some major TLC on their joints. Not only did they look tired, but damp was getting in through the cracks, so this needed to be a priority before the winter set in.
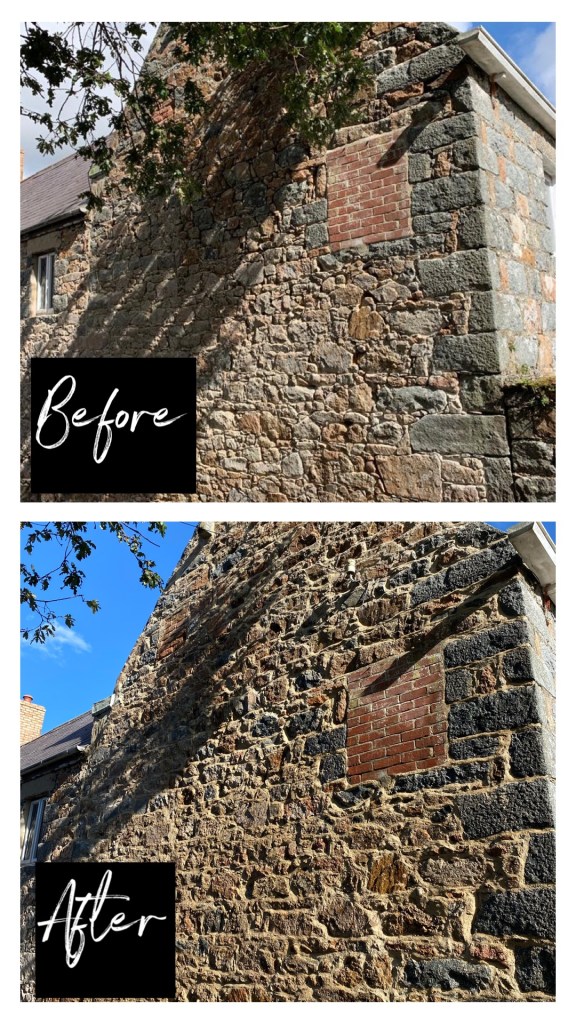
We sourced information from various stonemasons ahead of starting, and do you want to know what we learnt? There are about ninety nine different ways to do it. Each professional we spoke to had their own method. This way worked for us, and it may well work for you too if you are a novice like we were. Sure, it’s not perfect visually, and you can tell the difference in areas that were tackled initially and those that were done later as we got more confident. But (so far) it is doing what it is supposed to do, and that is keeping the water out.
What do I need?
- Chipping Hammer
- Cement Mixer
- Soft Brush
- Lime
- Sand
- Hawk (mortar board)
- Pointing spoon
- Hessian
- Nails
- Light acid wash
Step 1
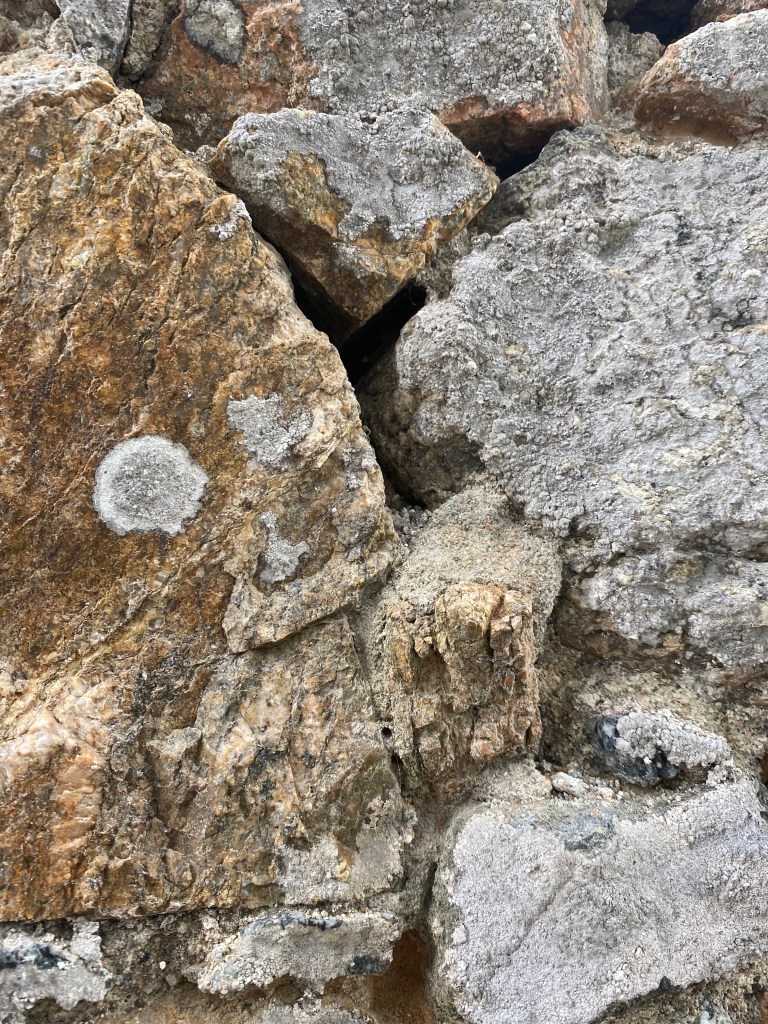
First off, rake out the joints – using a chipping hammer – between the stones to a minimum of 2 inches, or to a depth you feel is sufficient.
Step 2
Brush down the stone walls with a soft brush, cleaning off any debris from the raking out.
Step 3
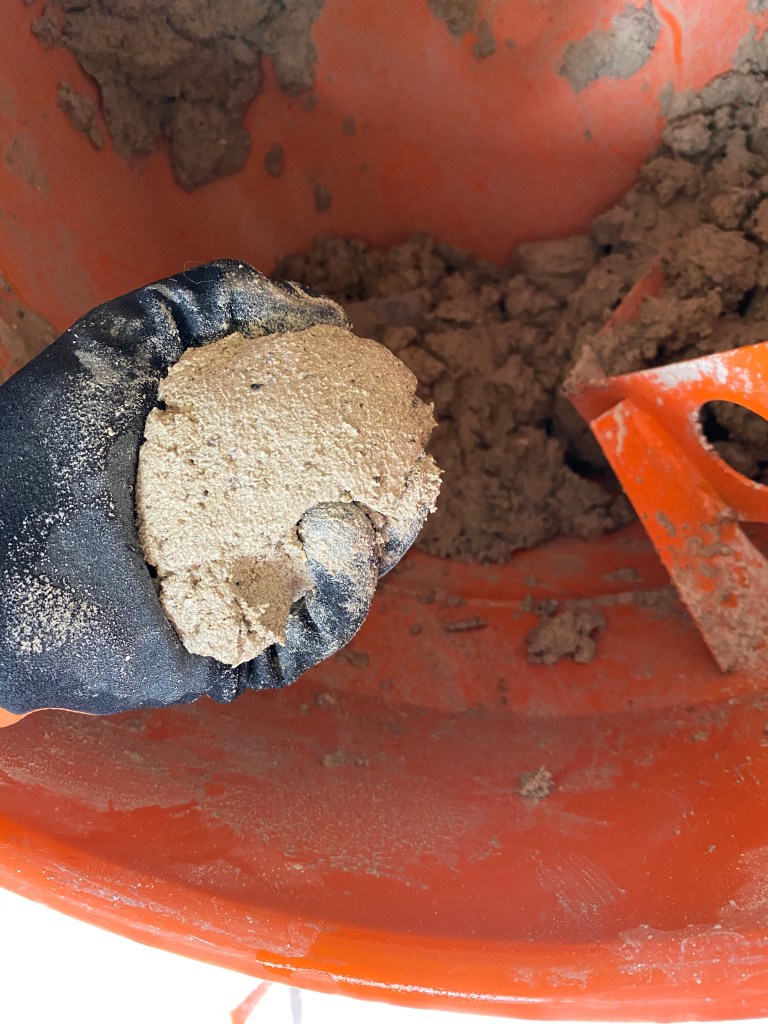
Given the age of our property and the fact it is listed, we were required to use a sand:lime mortar. We carried out our research beforehand (and you should too) and lime mortar generally seems to be the preferred mortar mix, however it is more expensive. Prepare your mix at a ratio of 2 parts sand to 1 part lime mortar (both of which can be purchased from your builders merchant.) Add a small amount of water to the mixture in your cement mixer until you get the right consistency. It should be pliable and stick to the back of your trowel – add more water if the mix gathers into small balls – if it is too dry it will dry too quick on the wall.
Step 4
Once the mix is ready, you are ready to start pointing. First though, wet the joints by spraying the section that you intend to work on with a hose – repointing is generally done from the top of the wall downwards.
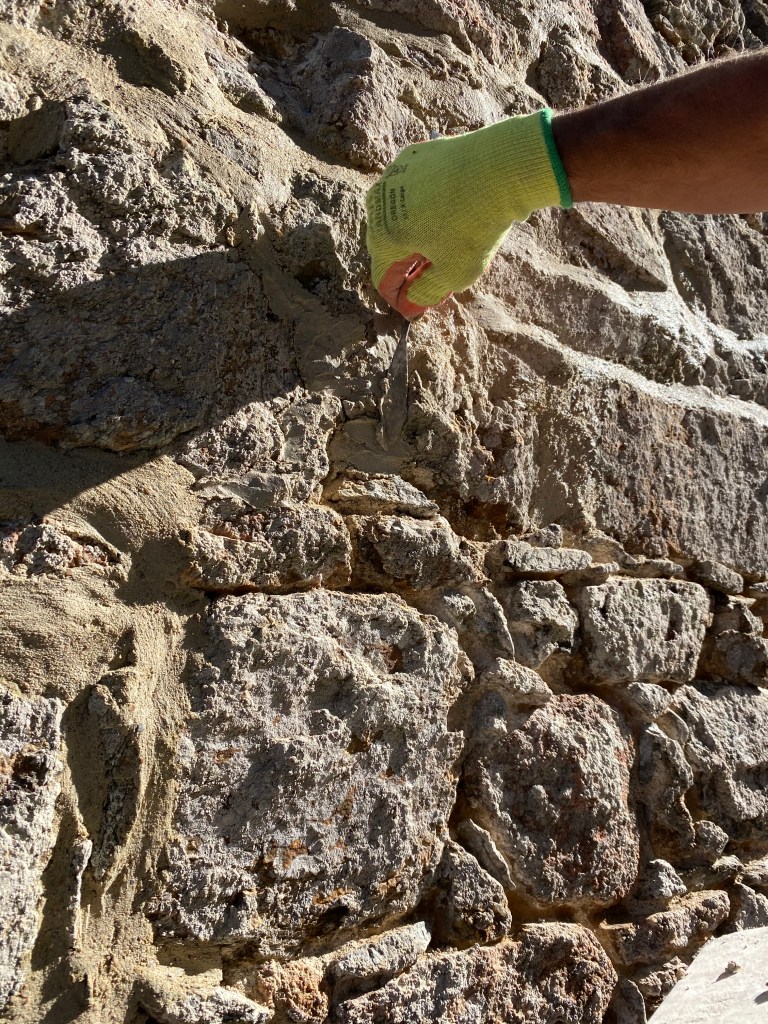
Step 5
Now to point! Make sure that you fully fill each joint with mortar. You will need a hawk and a pointing spoon (both of which can be purchased from your builders merchant). The hawk holds the mortar, and the pointing spoon will be used to apply it to the wall. Push the mortar in firmly, fully filling the joint and smoothing over.
Step 6
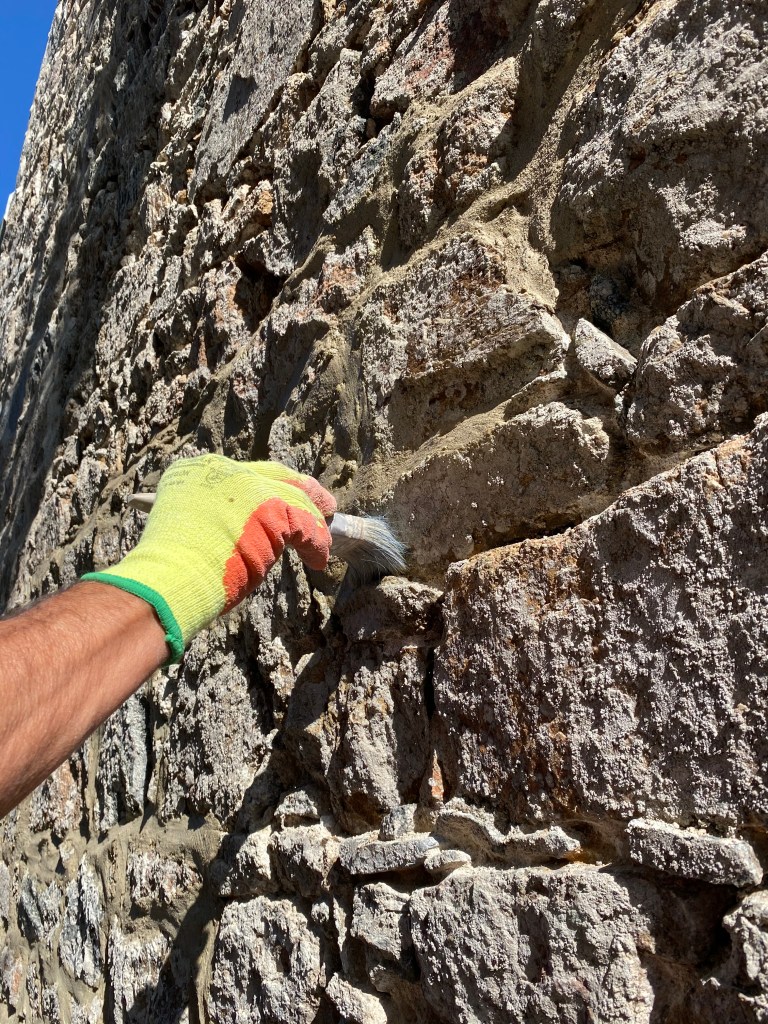
Leave it to semi-dry for c. 20 minutes or so, then brush off with a wire brush. Don’t be gentle with this – the intention is to bring out the smaller stones from within the mortar mix. Repeat this a further two times, keeping an eye on your brush strokes – you don’t want to see the strokes, so alternate how you brush to even it out.
Step 7
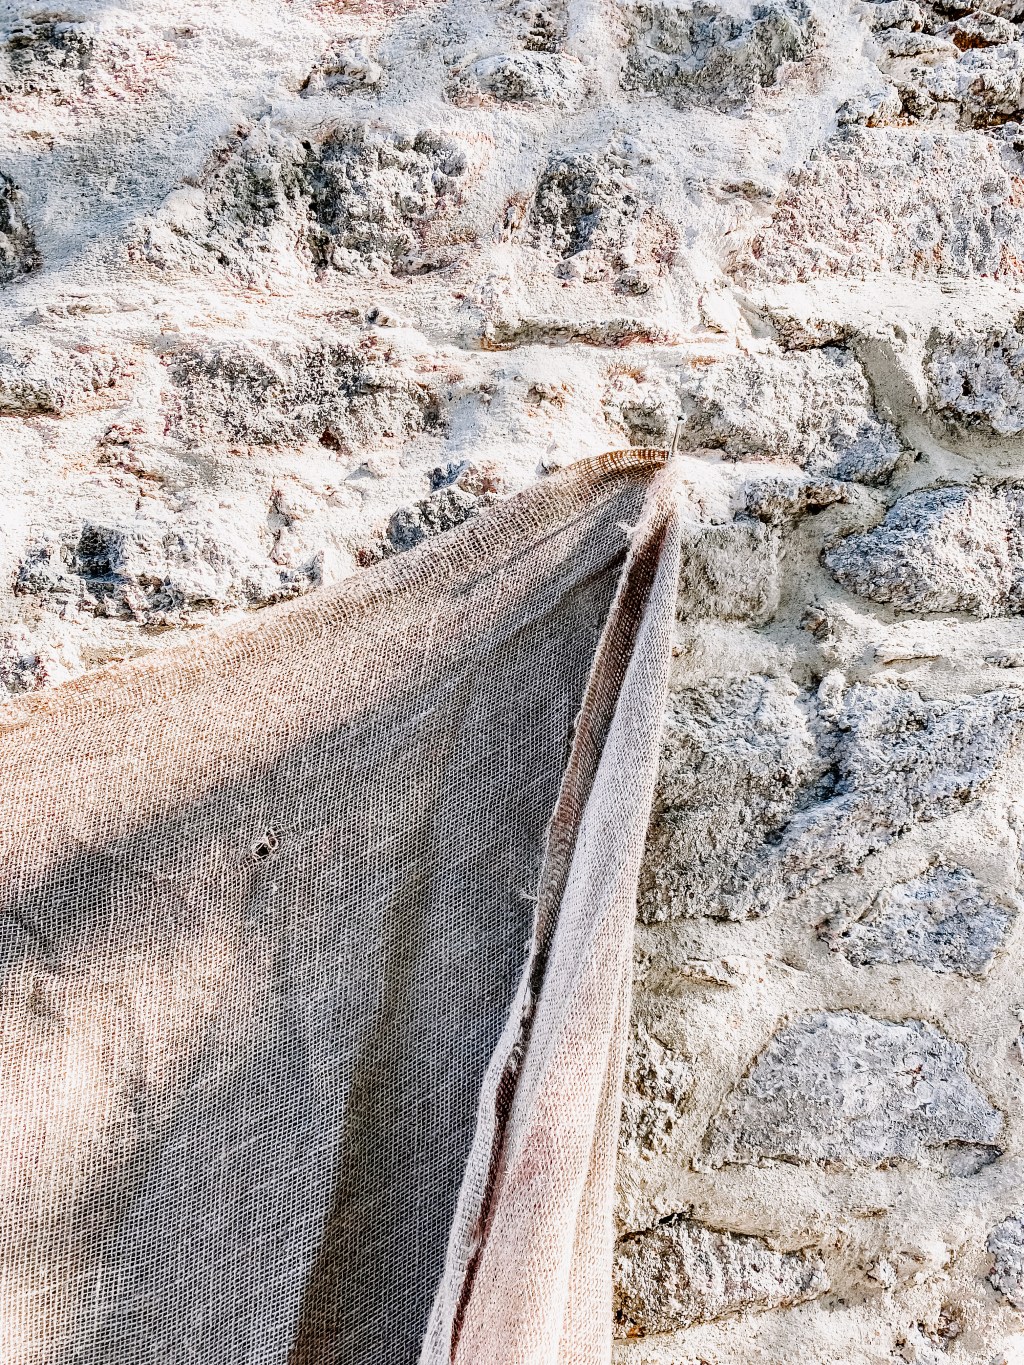
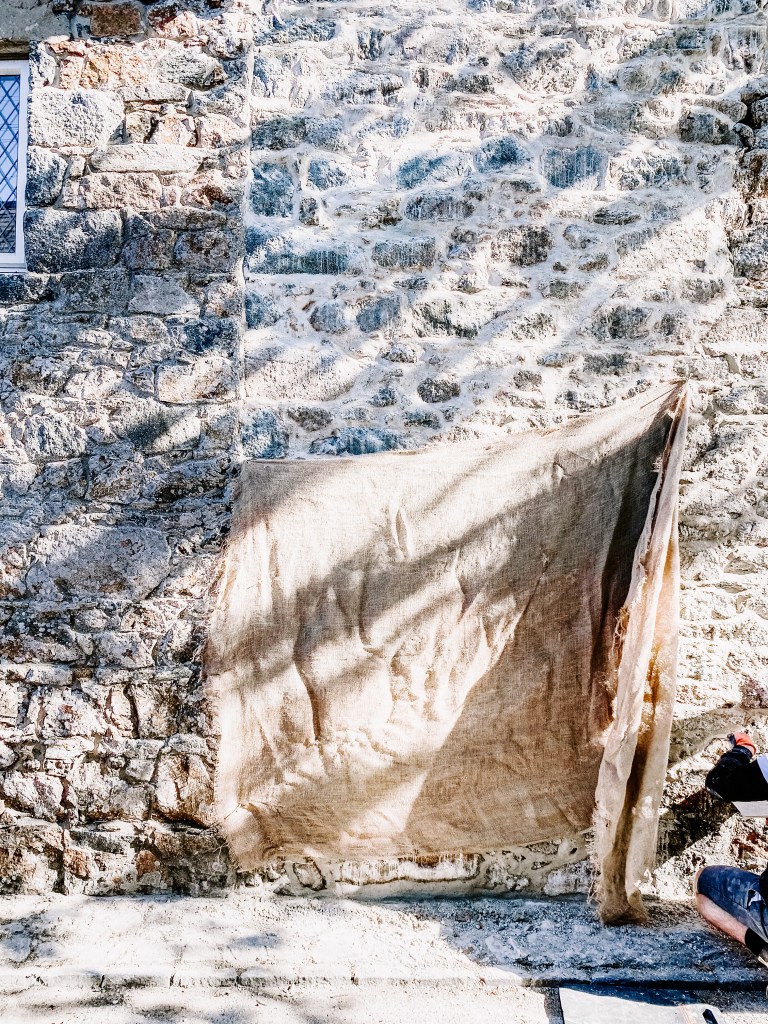
Cover your section with some hessian material, attaching it to the walls by nailing it to the joints. Soak the hessian with water, then leave until the following day and remove.
Step 8
The next day, brush the joints again lightly with a wire brush.
Step 9
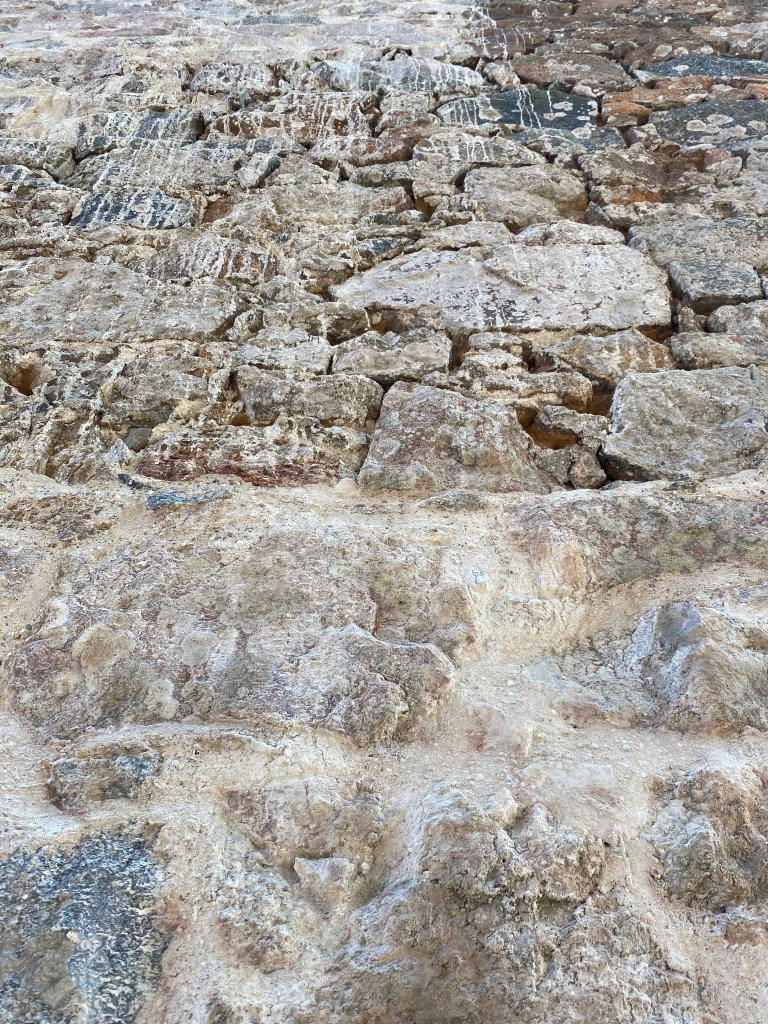
After a couple of days – once the walls are completely dry – wash down with a light acid wash (purchase from your builders merchant and check the mixing procedure, ours needed a 50/50 mix with water).
Step 10
Hose the wall down with water, and you are done!
Post contains affiliate links

Leave a comment