
Flatlay photographs can be funny old things to produce. Some days they come easily and all the props just fall into place, other days nothing sits right and there is no cohesion.
There are a wealth of tips out there on the internet to getting the right structure in a flatlay to make it visually pleasing (think triangulation, or the good ‘ol rule of thirds). I will admit that there is an element of organization to any flatlay I produce. I will faff around on ‘the set’ (read, my floor) but my focus is primarily behind the lens once the shot has been taken. I like to think of a flatlay as a character in a story, but the lens is the tool to tell the tale and evoke the emotions and reactions.
To demystify flatlay photography, here is how I build up a flatlay in five easy steps.
1. What’s the Story?
I find that I get a much greater sense of emotion from a flatlay (more so than an Interiors or Decor shot, for example) when it crops up on my Instagram feed. A flatlay is focused and holds a purpose. So your first step when producing a flatlay is to ask yourself what you want your viewer to feel. Happy? Safe? Calm? Adventurous? Nostalgic? You will need props that convey this emotion to really make it hit home with your viewer – more on this later.
2. Background
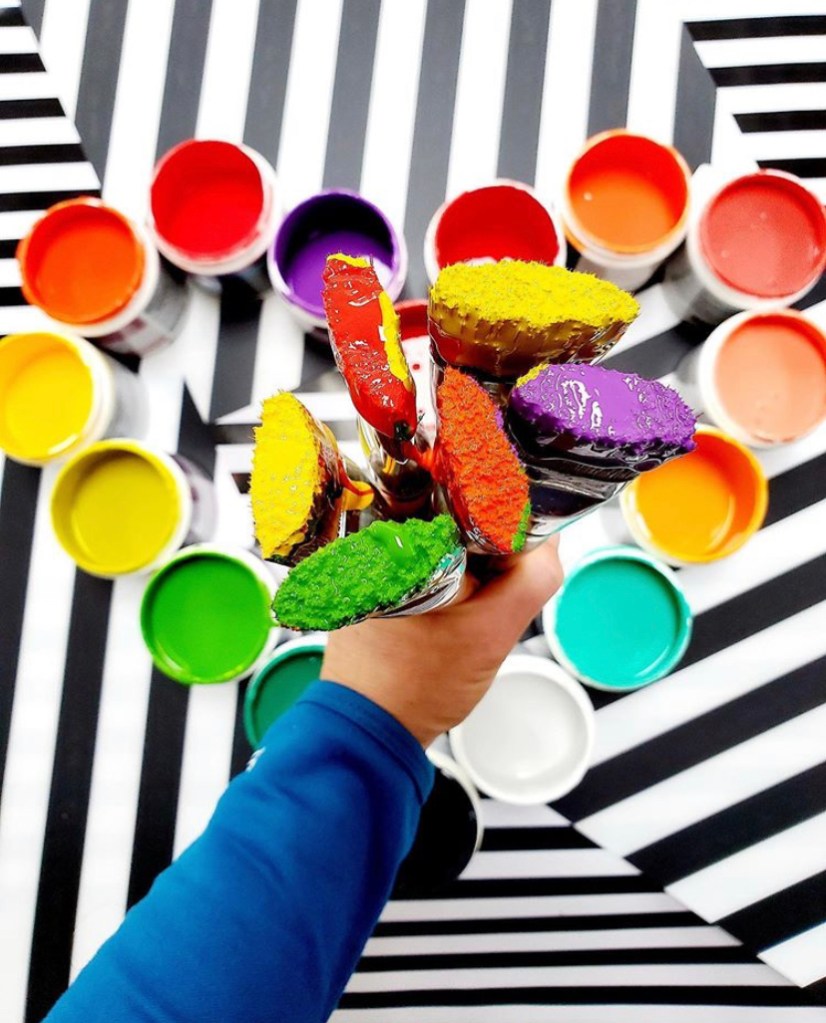
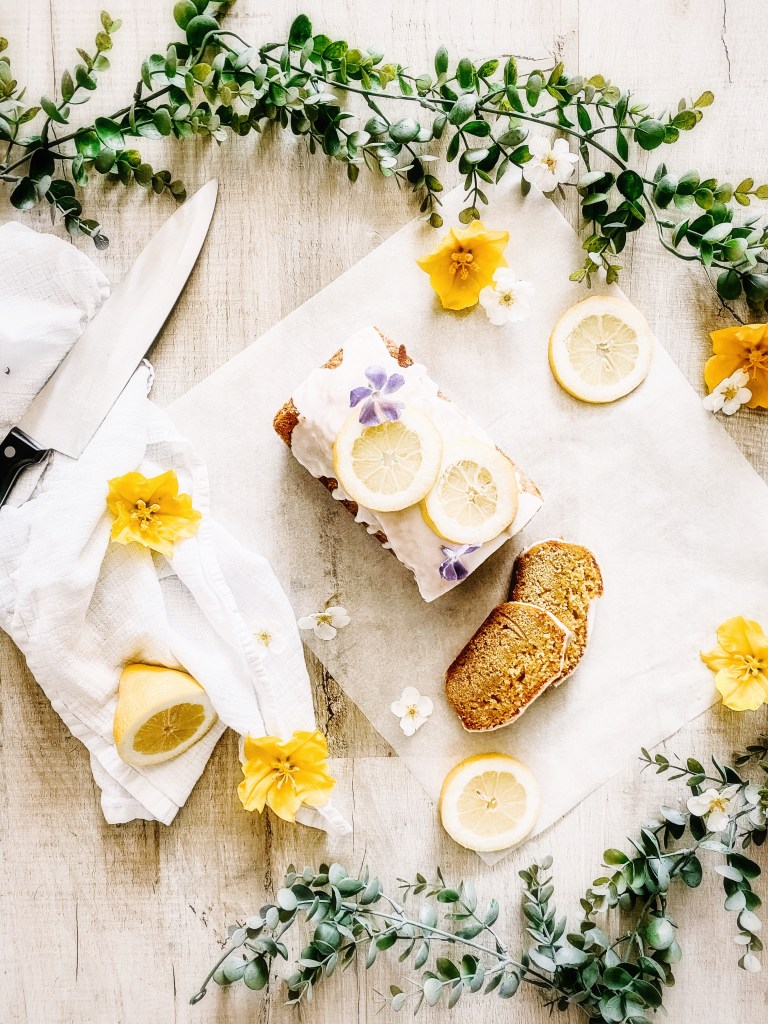
I always opt for an unfussy, neutral or rustic background, as I want my focal object to pop out. I have seen some flatlays that do the bold coloured background brilliantly, however. It goes back to the first point, of questioning what you want the flatlay to achieve. Do you want to wow with vibrancy like the colour queen Paola Roder? Then embrace that colour! Or do you want that weekend cake bake to take all the attention? Then draw the focus to it by toning down the background.
3. Textures
This may very well be the most important step in composing a knock out flatlay. Texture is the core element that can stop a flatlay looking flat (pun intended) and breathe life and body into it. If you are at a loss of how to incorporate texture think layerings of soft sheepskin, smooth silk and knobbled rustic wood. Ask yourself how you want your viewer to feel. Cosy? Warm? Cool? Bold? Hungry?
4. Focal Point
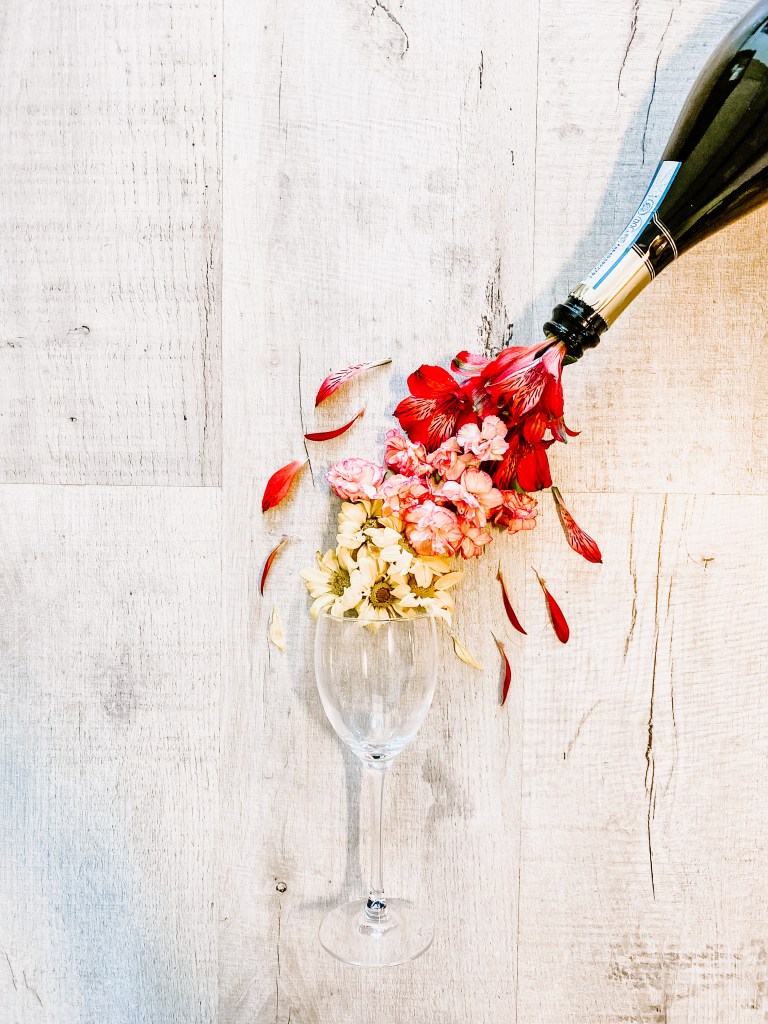
Every flatlay set up should have an object that you are trying to draw the viewers attention to, otherwise you risk it looking fussy. An effective way to start is by using standard objects in unusual ways. Whimsy is huge on Instagram, but not always easy to nail. Enter whimsical flatlays, which are a damn sight easier to achieve. Think flowers in teacups or watering cans spouting petals. Place this object first and build around it.
5. Accessories
This is where the magic happens. I call this my Lights On moment, because the stage is set, the characters are in place, now you just need to play out the story.
Give a flatlay life by literally showing signs of life. Whether it is a foot on a textured surface, a hand reaching for a cookie or an old family photograph, showing a sign of engagement within your flatlay gives it context. Think along the lines of loose ingredients in a food flatlay or single petals in a floral arrangement.
So there you have my method of building up a flatlay. The way I do it there is no math involved, no triangulation, no rule of thirds. It won’t win me any photography awards, but I’m okay with that – unleashing the creativity is worth so much more.
Bye for now,
Kelly

Leave a comment