With lockdown still looming over us, you may be one of those (like me) who is struggling to find the time for anything other than early years homework and a lukewarm cup of tea. If you have been one of those indulging in some home DIY, however, this post might be a little bit of you.
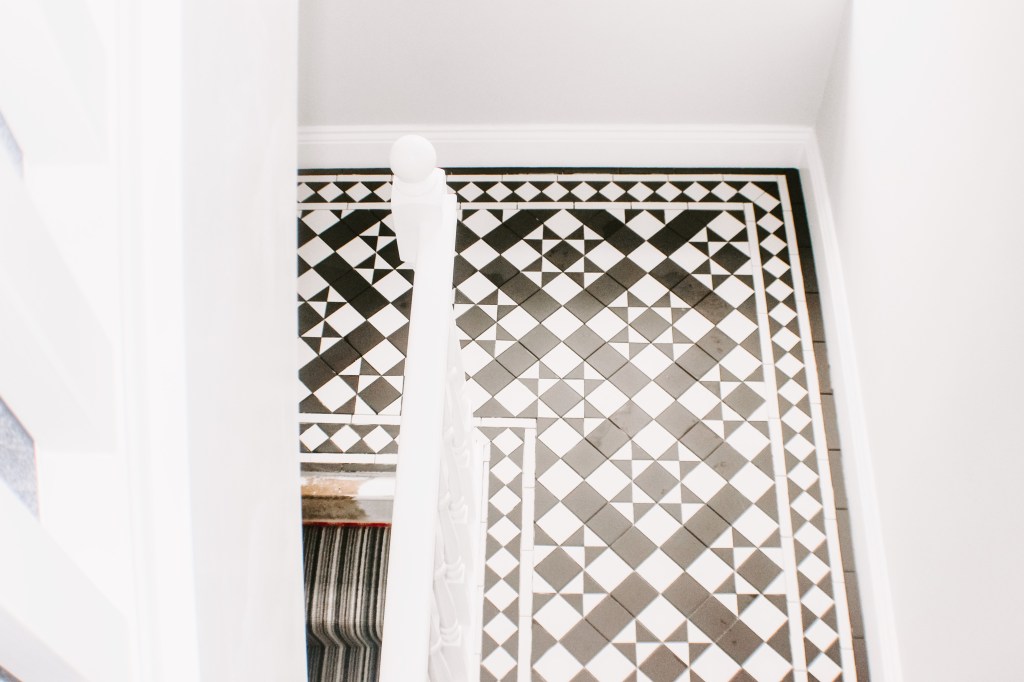
My Dad has always been a brilliant tiler (and our childhood homes went through various incarnations of the next big thing), but Victorian floors are where his passion lies. Personally, I don’t have the patience or the mental strength to concentrate on such intricate work. So for this post I handed the reigns over to dear old dad. If you are in the mood for overhauling your hall or entryway in a Victorian style this lockdown (aim high, people), here’s how.
Step 1: Measure Up
First off, you need to whip out the tape measure (or digital measure, if you are flash) and measure your floor throughly. Don’t skimp on the details; you want to detail all those awkward angles, nooks and crannies. You are going to give a diagram of this to your tile manufacturer who will provide and supply you with everything you need.
Step 2: Clean
This goes without saying, right? Clean the existing floor thoroughly.
Step 3: Prime It
Next you are going to need to apply a primer (if this is your first reno, a primer effectively seals the floor) for wooden and cement floors. This is done using a roller and a brush. Then wait for it to dry completely before moving on to the next step.
Step 4: Decouple
You are going to want to lay an under-tile decoupling system to avoid movement and provide waterproofing and adhesive. My professional (aka – Dad) suggests DITRA Matting. If you want to get technical, DITRA Matting is a polyethylene membrane with an anchoring fleece laminated to its underside. If you just want to know what the damn thing does, it’s a matting that bonds the floor and the tiles together.
Step 5: Self Level
Next up, it’s time to get even. You will need to apply a base of self-leveling concrete to give you a smooth surface to apply the tiles to. Using the compound instructions, mix in a bucket and pour it onto the floor – it will naturally find its level. Then trowel it to make it smooth.
Step 6: Prime It Again
As with Step 3, apply another layer of primer.
Step 7: Mark Out Borders
Mark out where your tile borders are going to be and apply straight edged batons on the inside edge of the border.

Step 8: Do a Dummy Run
Before you lay the tiles with adhesive, dry lay roughly a metre of the tiles to get the pattern right. When you are satisfied, take the tiles back up again, keeping in mind where they have been (take a photo if you are unsure).
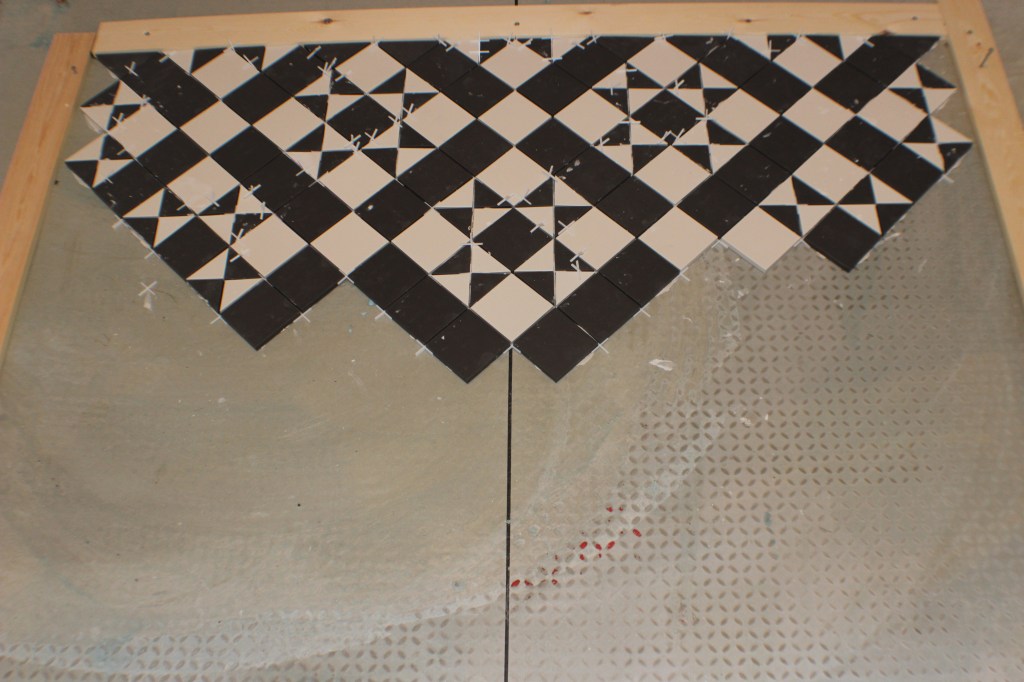
Step 9: Lay The Centre Tiles
Now you can get to the fun part – laying the tiles. Start laying the tiles (using adhesive this time) from the centre outwards, ensuring that the pattern is straight all the way down the length of the floor.

Step 10: Lay The Border Tiles
Once the infill of the pattern is complete, start laying the tiles for the borders.
Step 11: Give The Tiles A Sponge Bath
Once your tiles are dry, give them a little sponge bath with warm water.

Step 12: Sign and Seal
Once they are dried off from their sponge bath, apply a tile sealer.
Step 13: Grout
Now is the time to grout the joints between the tiles. Stick with a light grey for a traditional feel (white will get dirty too quick), or go off-piste and experiment.

Step 14: Sign, Seal and Deliver
Once dry, apply sealer again, this time two coats, in either a satin or gloss.
Bye for now,
Kelly

Leave a comment