Everyone has that one person in their life who embodies Christmas at the festive period. I am your person. I went DIY crafting mad last year and these book stacks were just as much of a hit with my followers (I call them friends – does that make me weird?) on Instagram. So when the 6th January came around – and no earlier, come on – I was genuinely sad when I had to stash my stacks away. So I rebelled. Ooh. It dawned on me that the only part of my ‘Christmas Book Stacks’ that was Christmassy (is that a word? I’m making it one) was the stamping. Change the wording – change the theme. So I made a list of some short inspirational phrases, hot footed it to the local charity shop to pick up some unloved books and enlisted the children’s help to create a new stash of stacks.
These Rustic Book Stacks are genuinely one of the most purse friendly crafts I have created. Inexpensive and simple to construct – that’s a winner in my book (pun intended).
Check out the video below for a quick tutorial or keep on scrolling to find a written tutorial.
Rustic Book Stacks
What you are going to need:
- Unloved books
- White craft paint
- Letter stamps
- Black ink pad
- Twine / string of your choice
1. Book lovers out there, this will destroy you. Start by tearing the front and back pages off, making sure that the spine cover also comes with it. If the first exposed page isn’t to your liking, continue to tear pages off until you come to something you think will make a good aesthetic.
2. Paint away! Don’t be too careful – you are after the rustic look remember. I like to paint a relatively thin coverage, allowing some of the print to show through. I enlisted my children’s help here – my reasons were twofold. First, because I like to teach them to embrace creativity, and it beats playing on an Ipad. Second, because they wouldn’t leave me alone and I had no choice.
3. Leave your books to dry. We have an electric fire (I know, soul destroying) so I placed them in the line of heat for half an hour or so. They dry relatively quickly with just a thin coat of paint. If you are like my two year old, and decide to empty the contents of the paint pot onto yours, it will take longer.
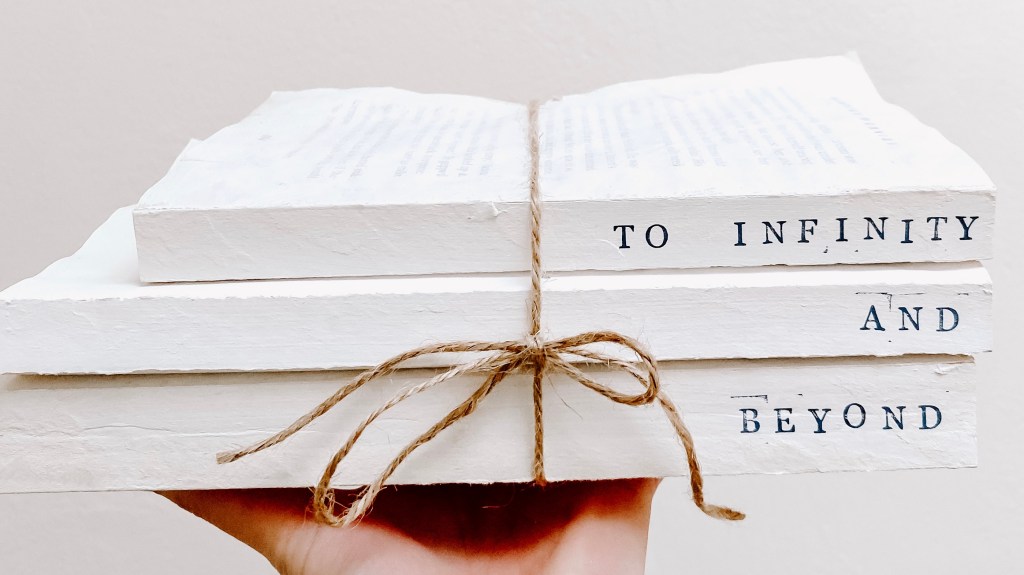
4. Get stamping! Use your alphabet stamps to stamp your desired phrase onto the books. I would always recommend stamping first onto a piece of paper otherwise, like me, you could end up with a backwards ‘E’ and need to start the whole thing again. It goes without saying (but I’ll say it anyway) that you start from the last letter in the word and work backwards, otherwise your word could risk getting cut short. No-one wants that.
5. Tie the books up with a piece of twine for the rustic look, or any string you have laying around. Style away!
Bye for now,
Kelly x

Leave a comment